Sync CalDAV, Replace Google/MS Calendar, using northmail
Zhenbo Li April 27, 2025Preface
Self-host a CalDAV server is definitely doable, and I recommend having a try. I'm not a tech-savvy, and I'd promote a Canadian business, so I'm using northmail.ca in this article. It's easy to replace northmail.ca with self-hosted server or another service provider. I'm not affiliated with northmail.ca
CalDAV by northmail.ca
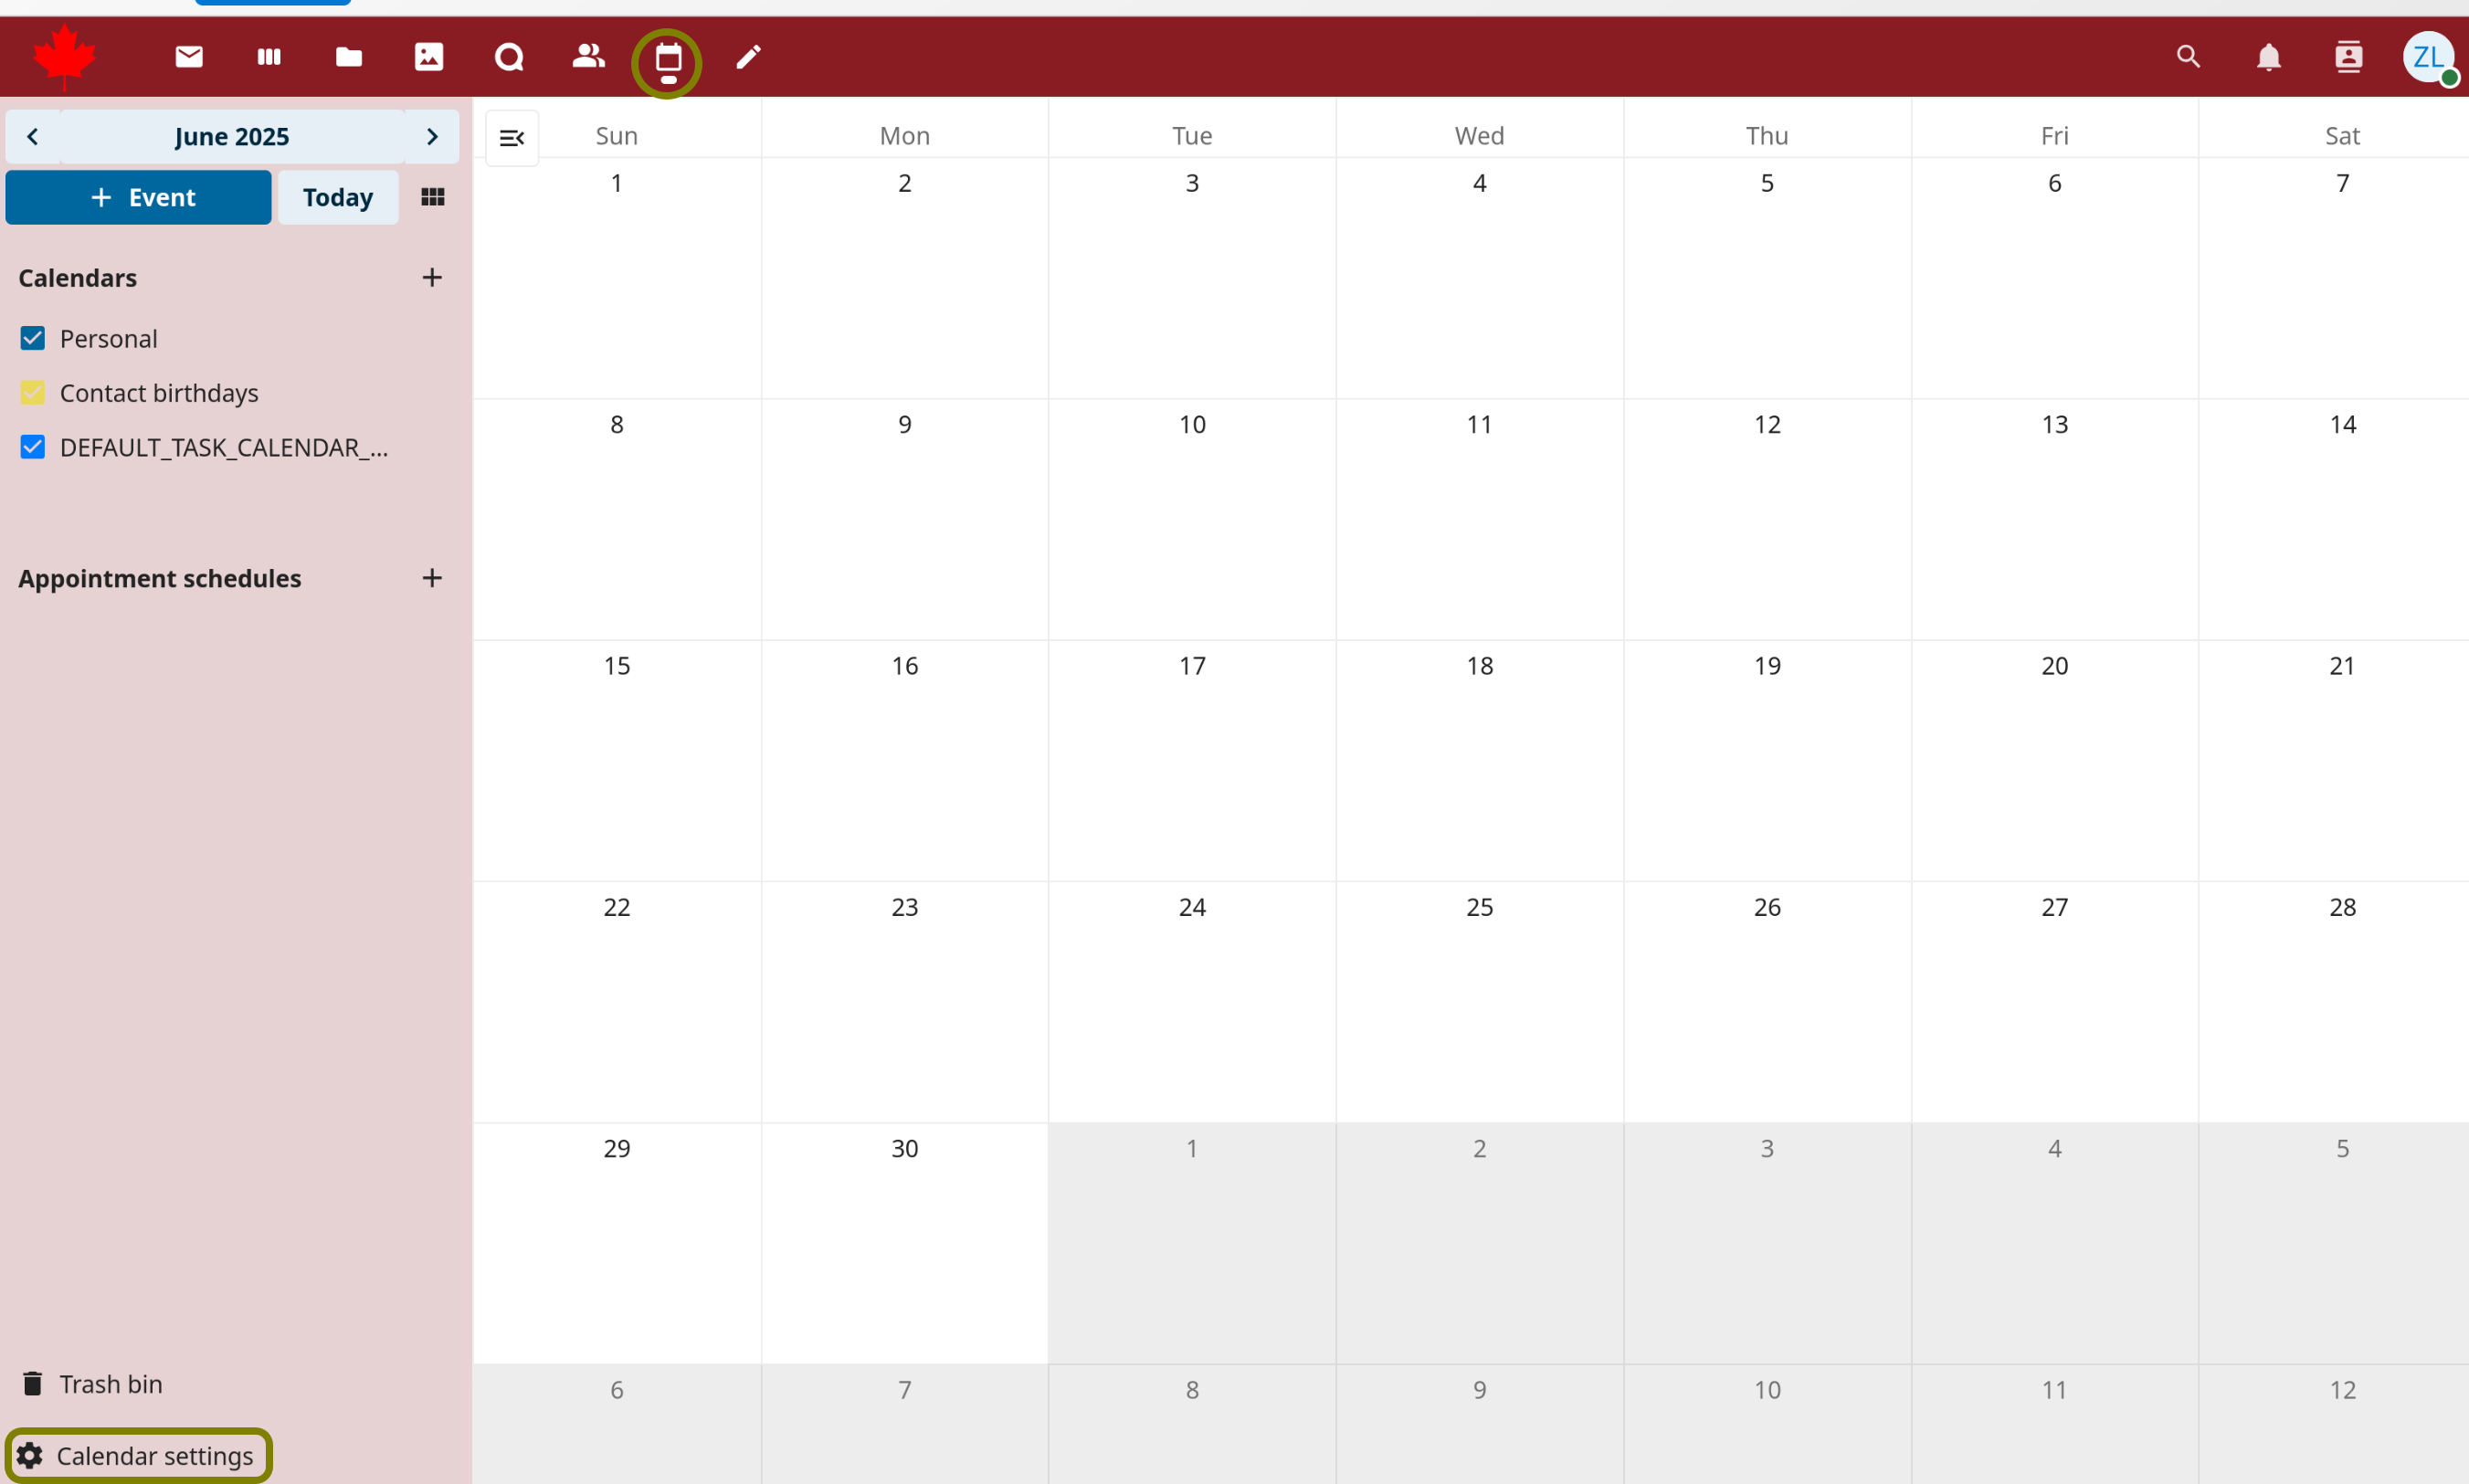
Click Calendar button at header, then Calendar Settings at bottom-left.
Click Copy primary CalDAV address, we will get https://cloud.northmail.ca/remote.php/dav
Click Copy iOS/macOS CalDAV address, we will get https://cloud.northmail.ca/remote.php/dav/principals/users/{user_email}/.
Add to Thunderbird Calendar
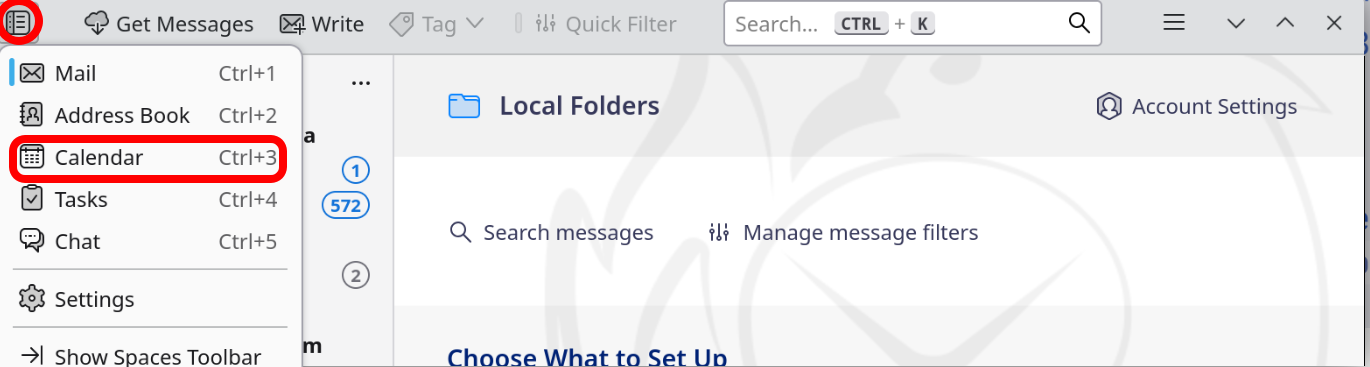
Thunderbird is an open-source, cross-platform email client. First, click the upper-left button or press Ctrl-3.
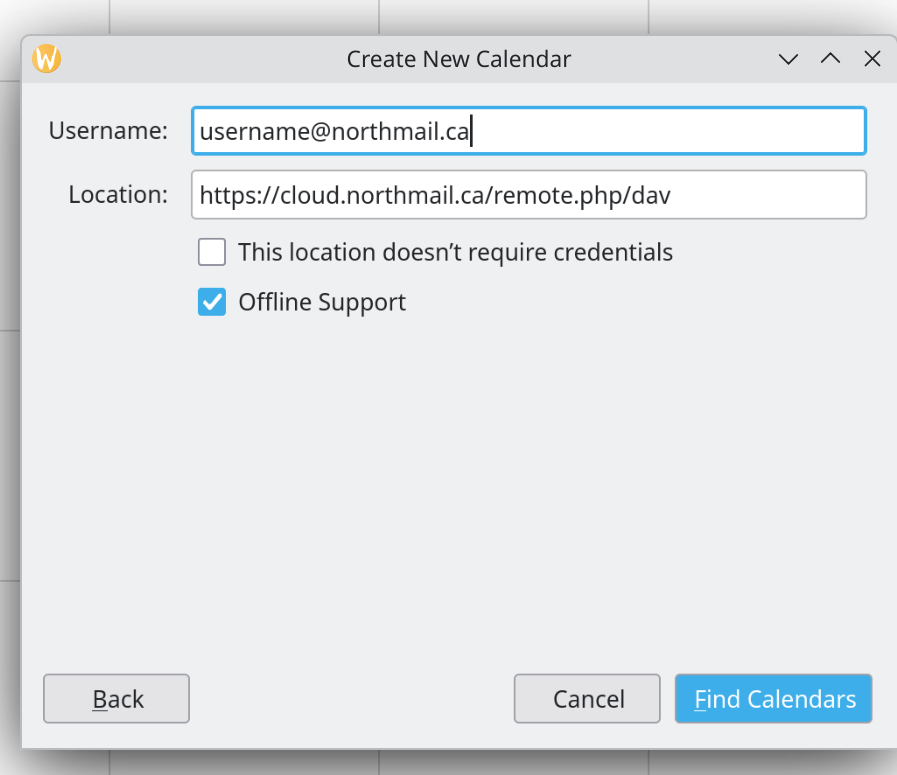
Click New Calendar at bottom-left, On The Network. Username is [email protected], and Location is CalDAV address.
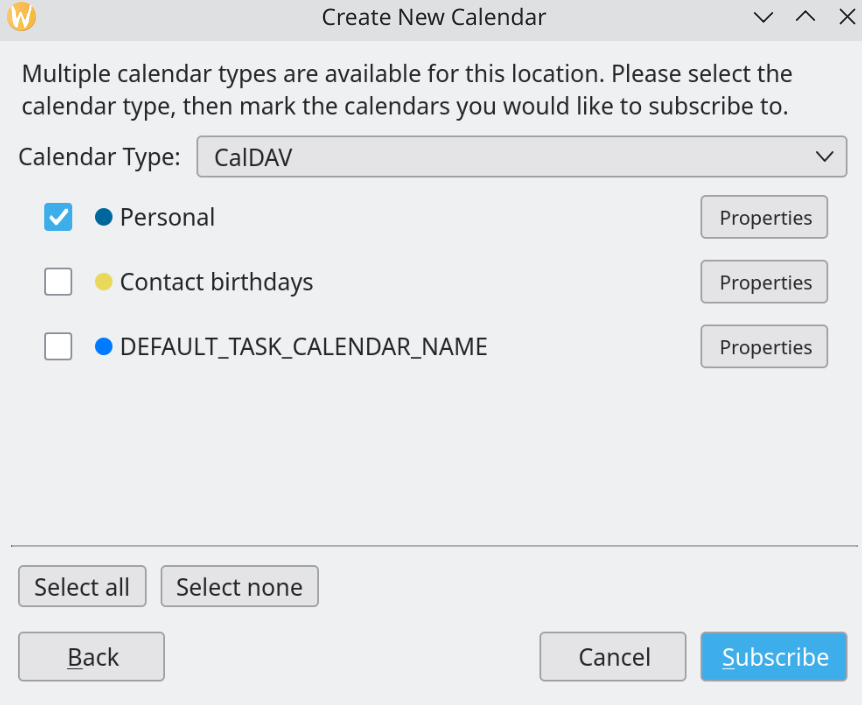
After typing the password, you can select calendars you need. For now (2025-04-27), northmail.ca doesn't support 2FA or app password, which is not the best practice.
Add to iOS 18 Calendar
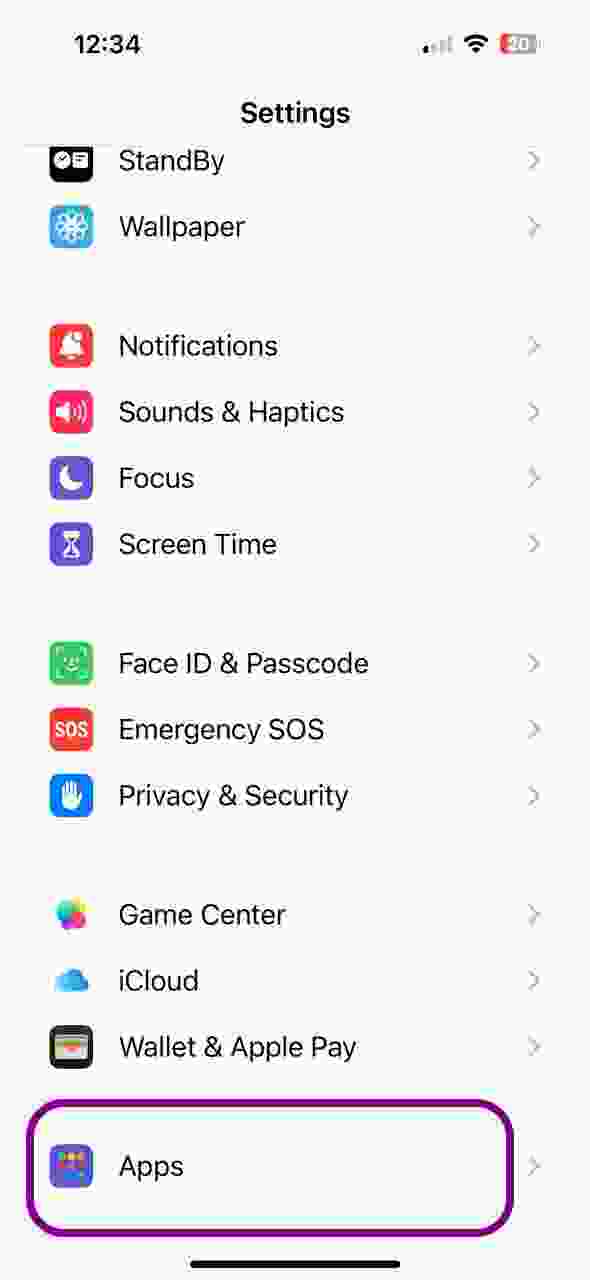
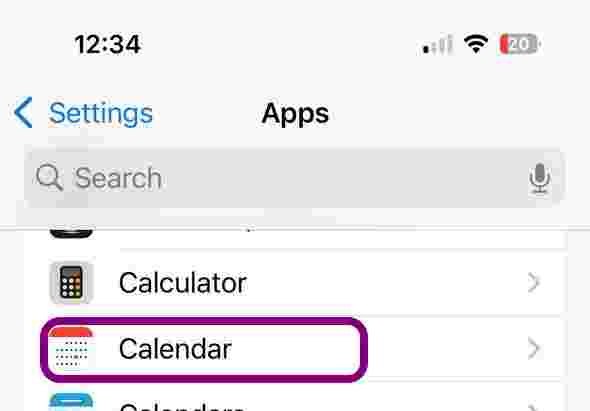
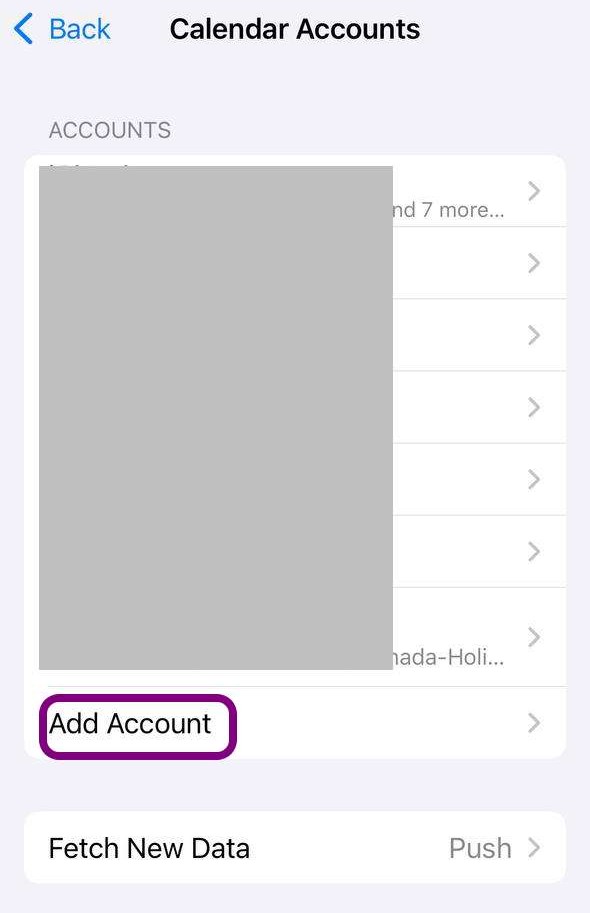
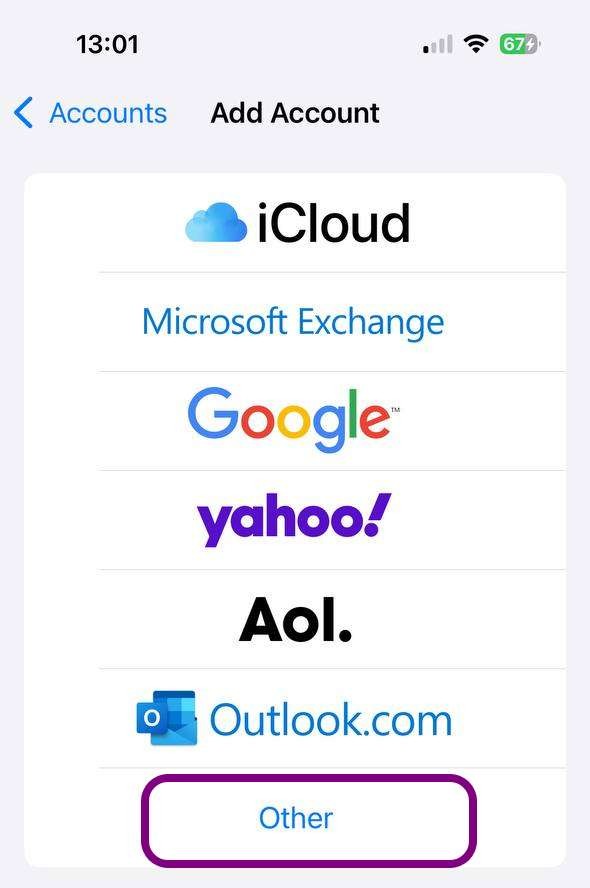
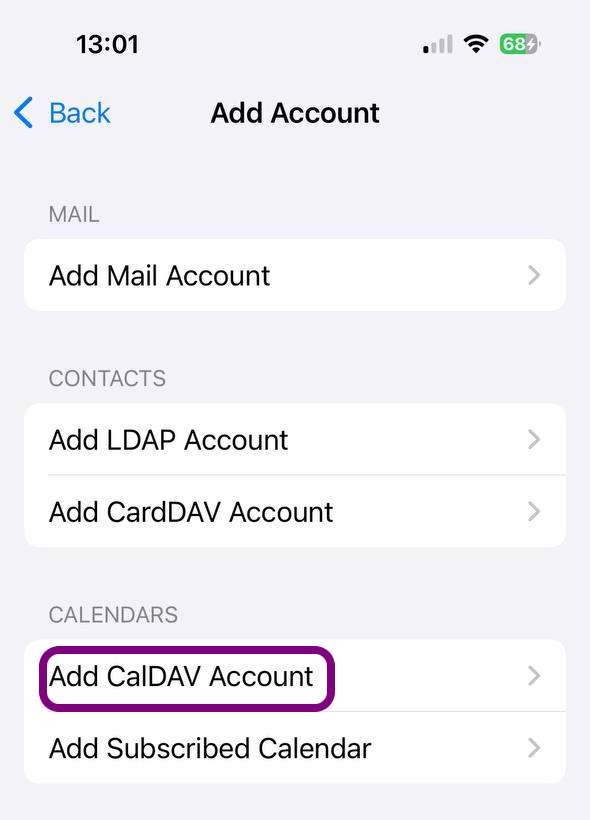
In Settings, scroll to bottom and click Apps. Click Calendar -> Add Account -> Add CalDAV Account.
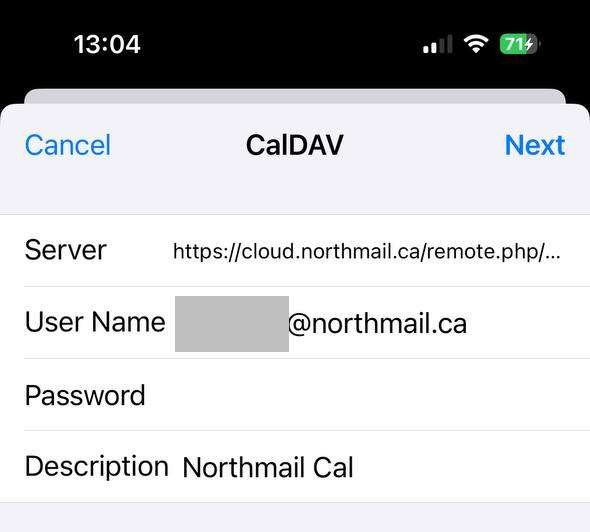
In Server, paste the iOS CalDAV address. In User Name type the full email address. For now (2025-04-27), northmail.ca doesn't support 2FA or app password, which is not the best practice.
Screenshots
I've taken screenshots at all critical steps. To keep the article brief, I moved all screenshots to the end of this article.